

Datadog - Upstash QStash Integration
This guide walks you through connecting your Datadog account with Upstash QStash for monitoring and analytics of your message delivery, retries, DLQ, and schedules.
Integration Scope
Upstash Datadog Integration covers Prod Pack.
Step 1: Log in to Your Datadog Account
- Go to Datadog and sign in.
Step 2: Install Upstash Application
- In Datadog, open the Integrations page.
- Search for "Upstash" and open the integration.
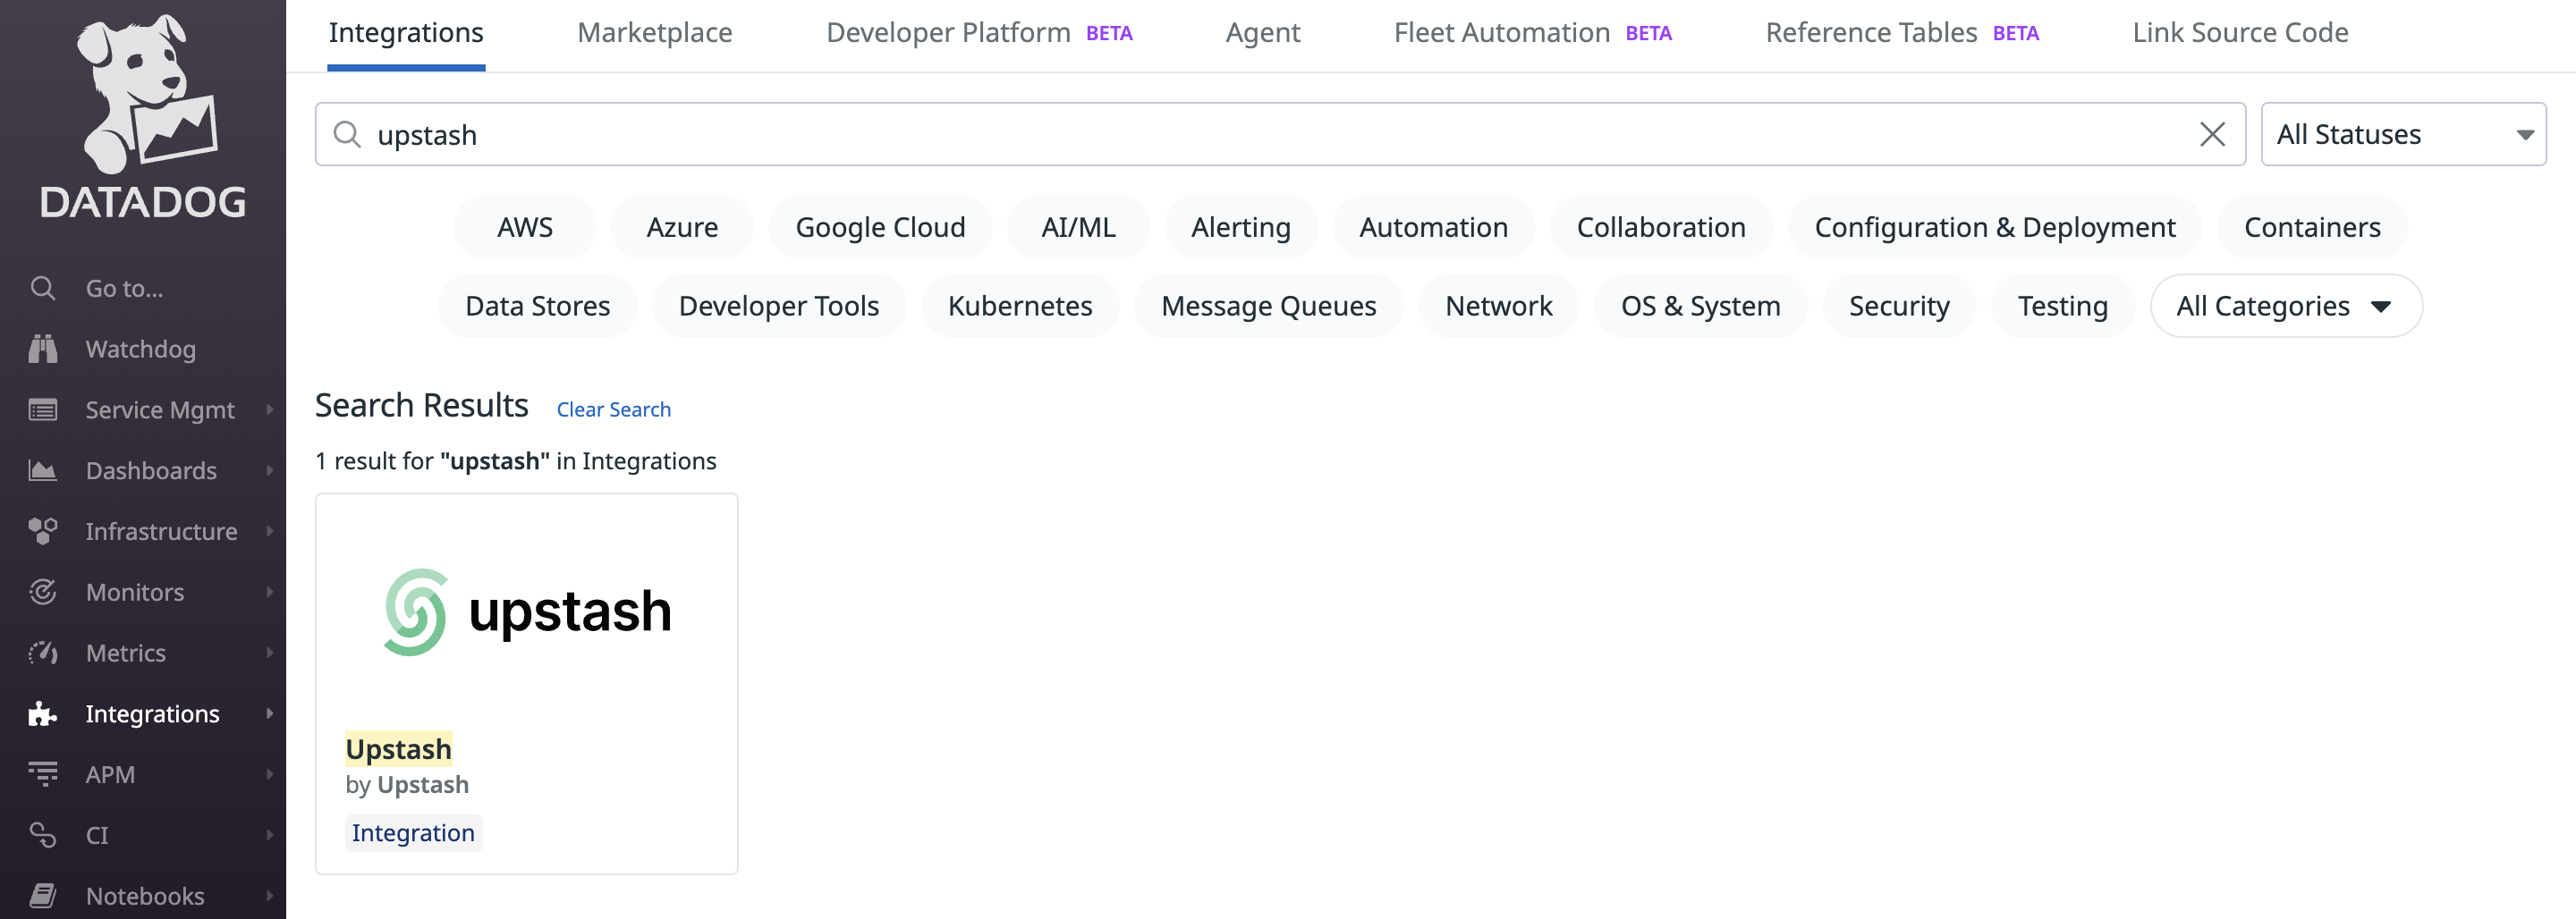
Click "Install" to add Upstash to your Datadog account.
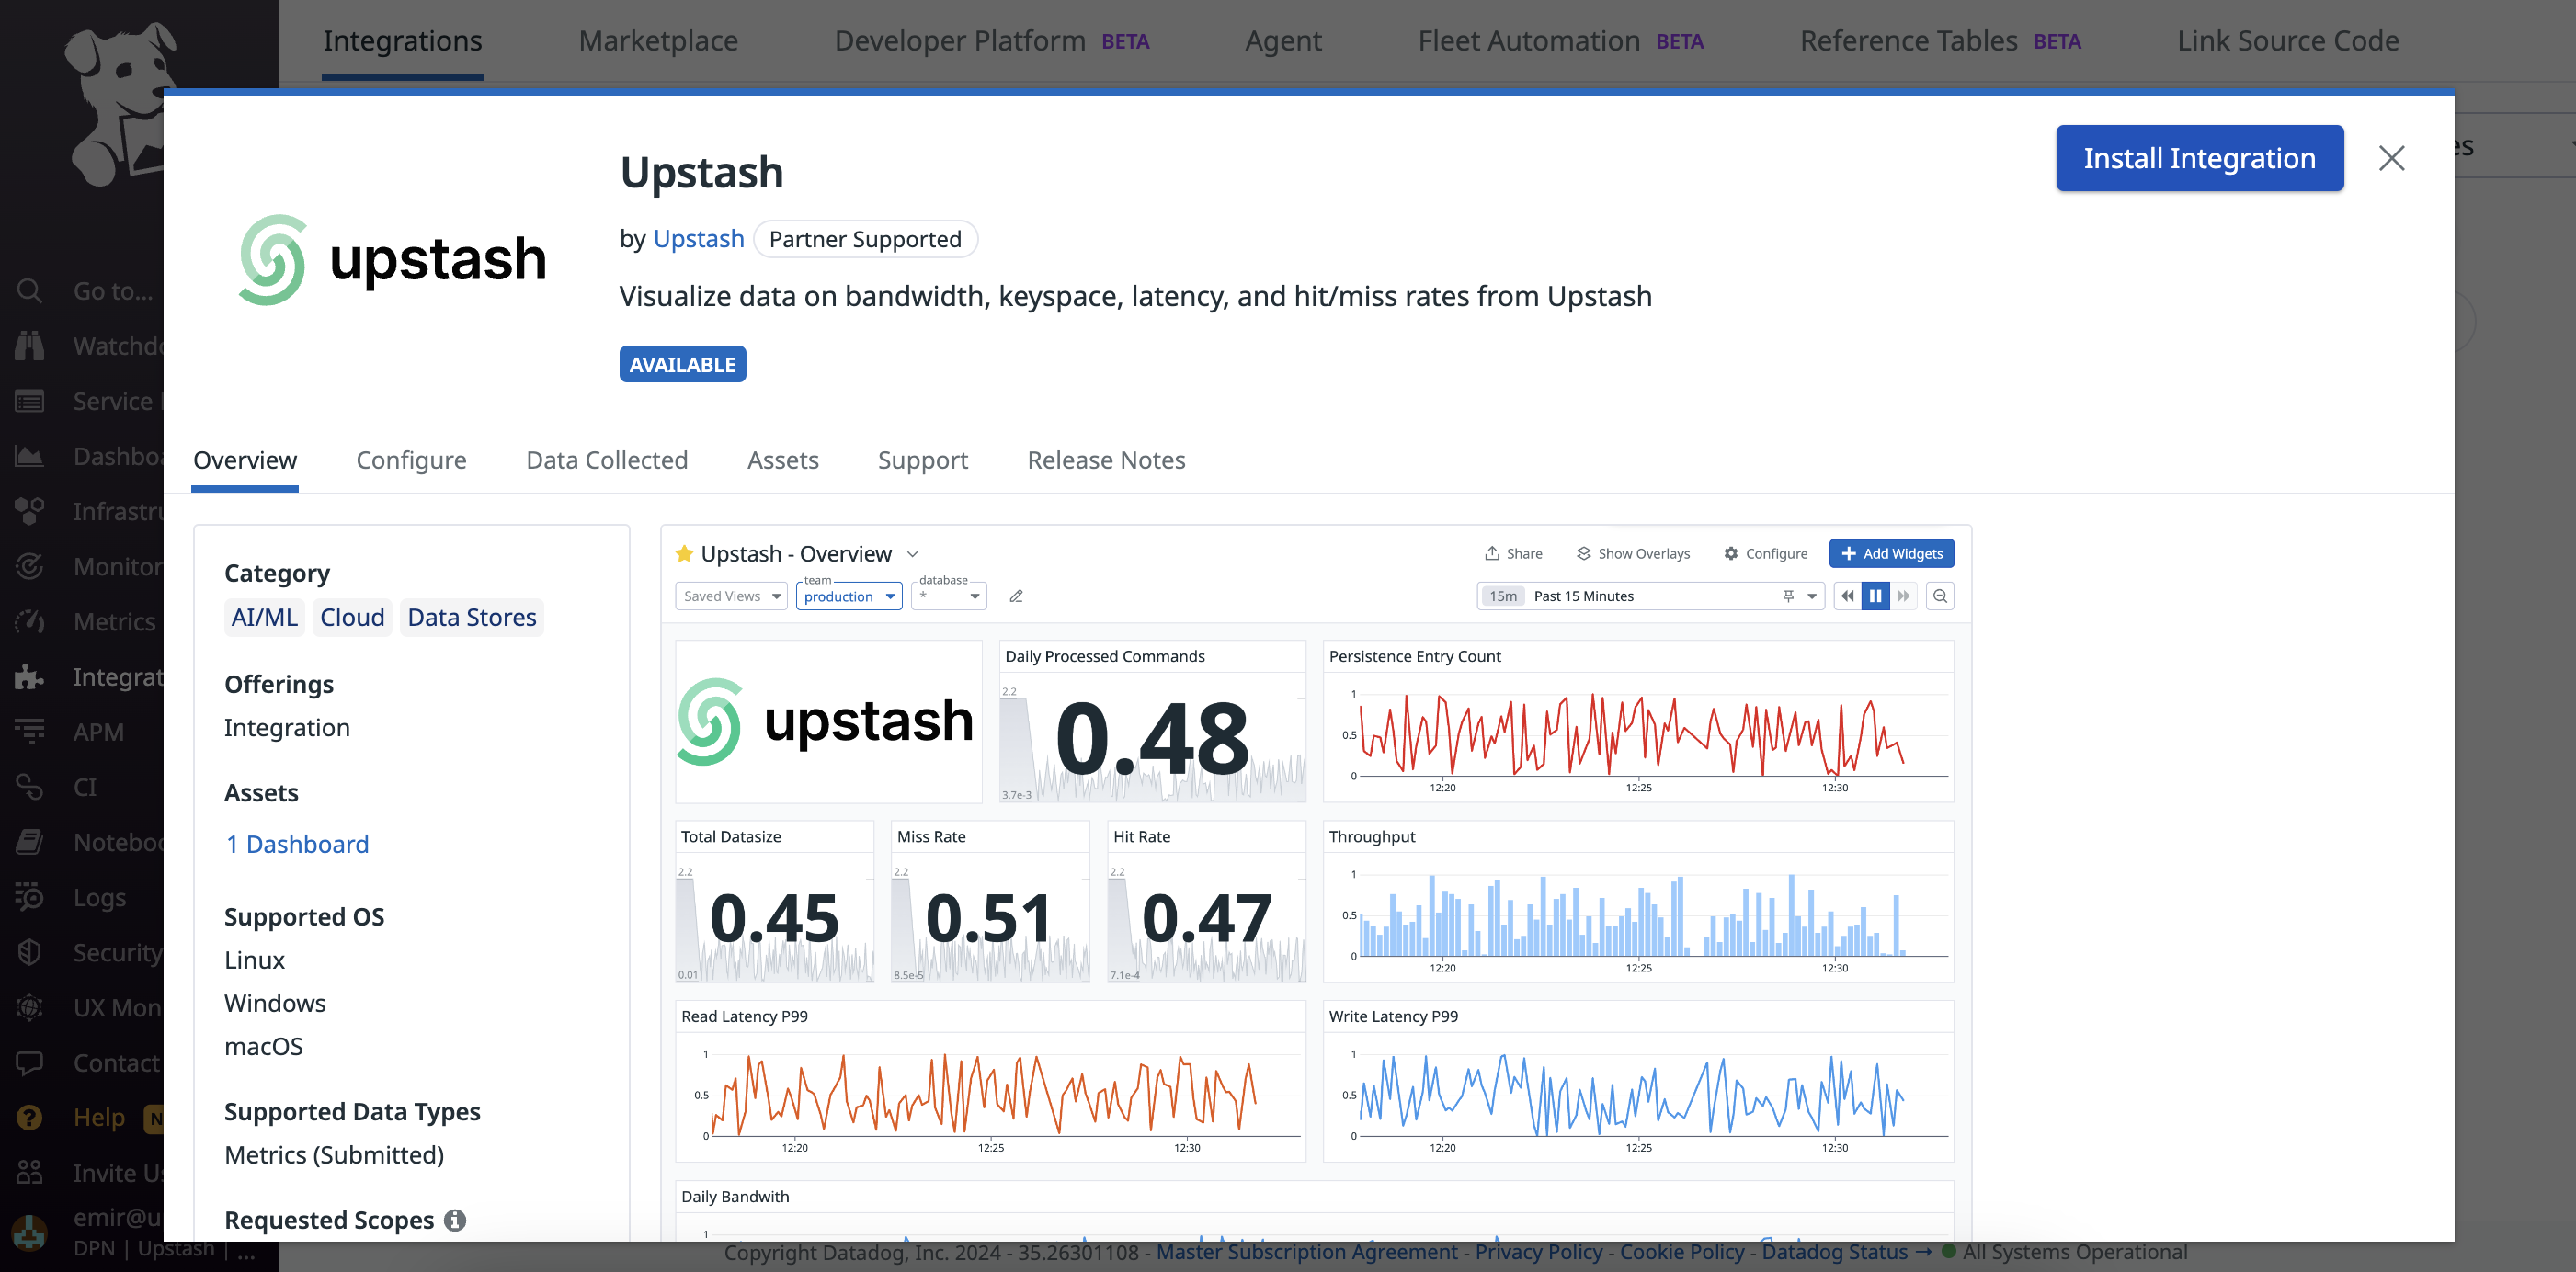
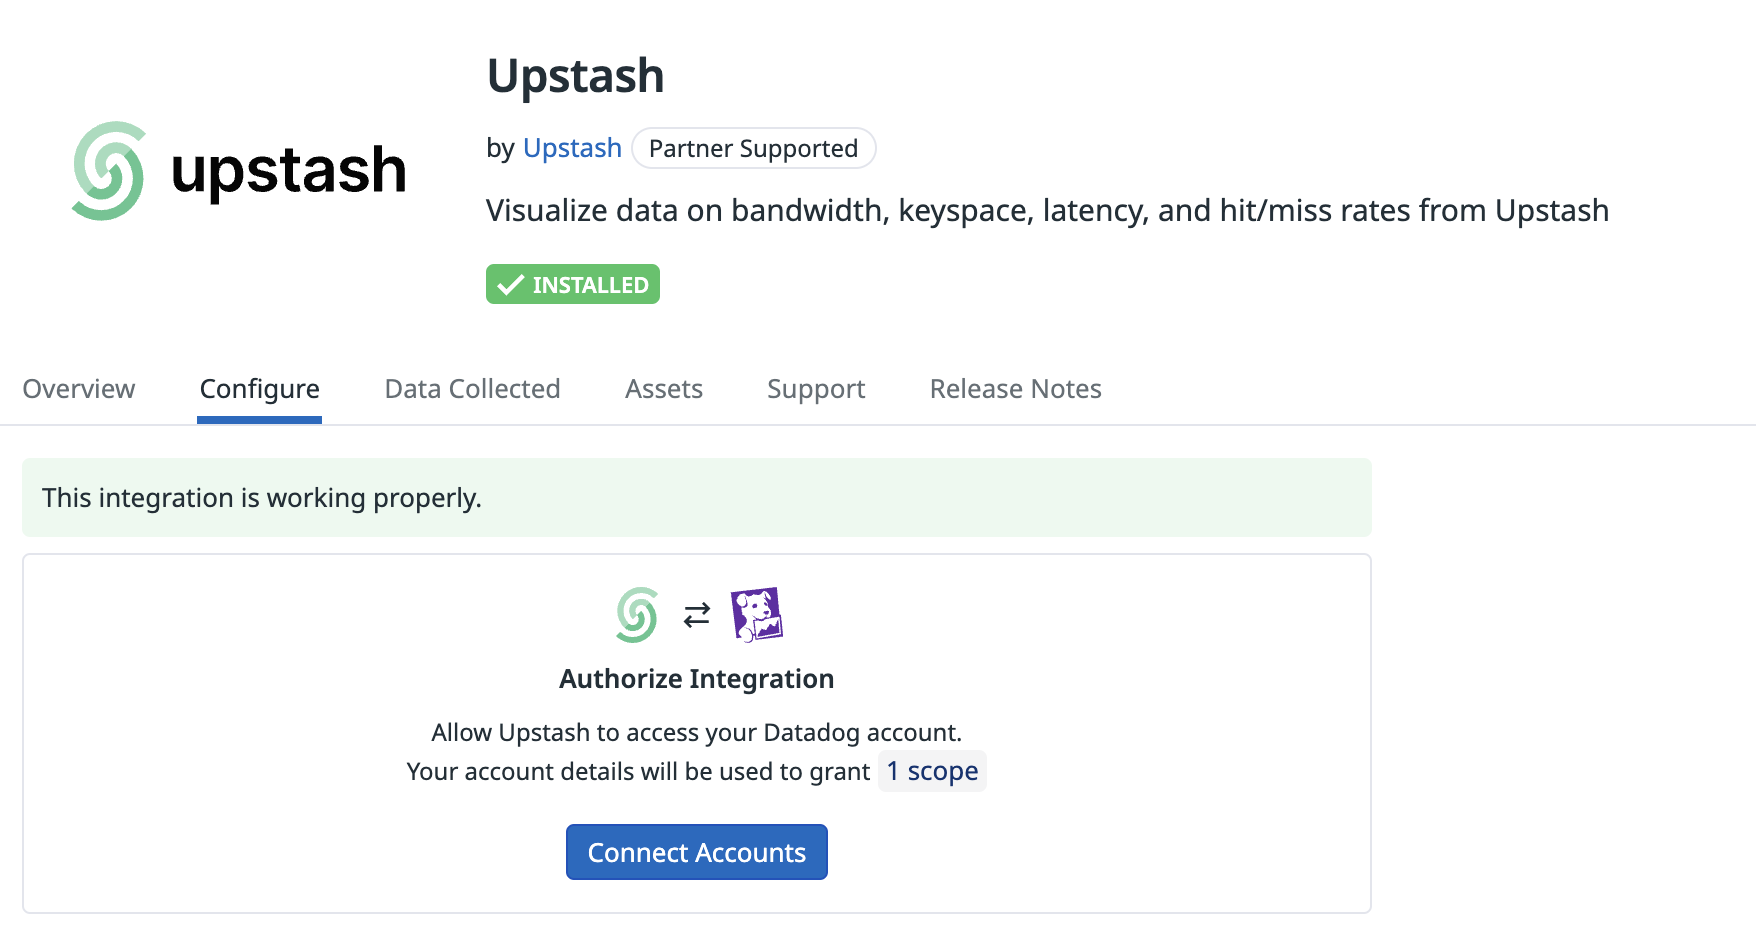
Step 3: Connect Accounts
After installing Upstash, click "Connect Accounts". Datadog will redirect you to Upstash to complete account linking.
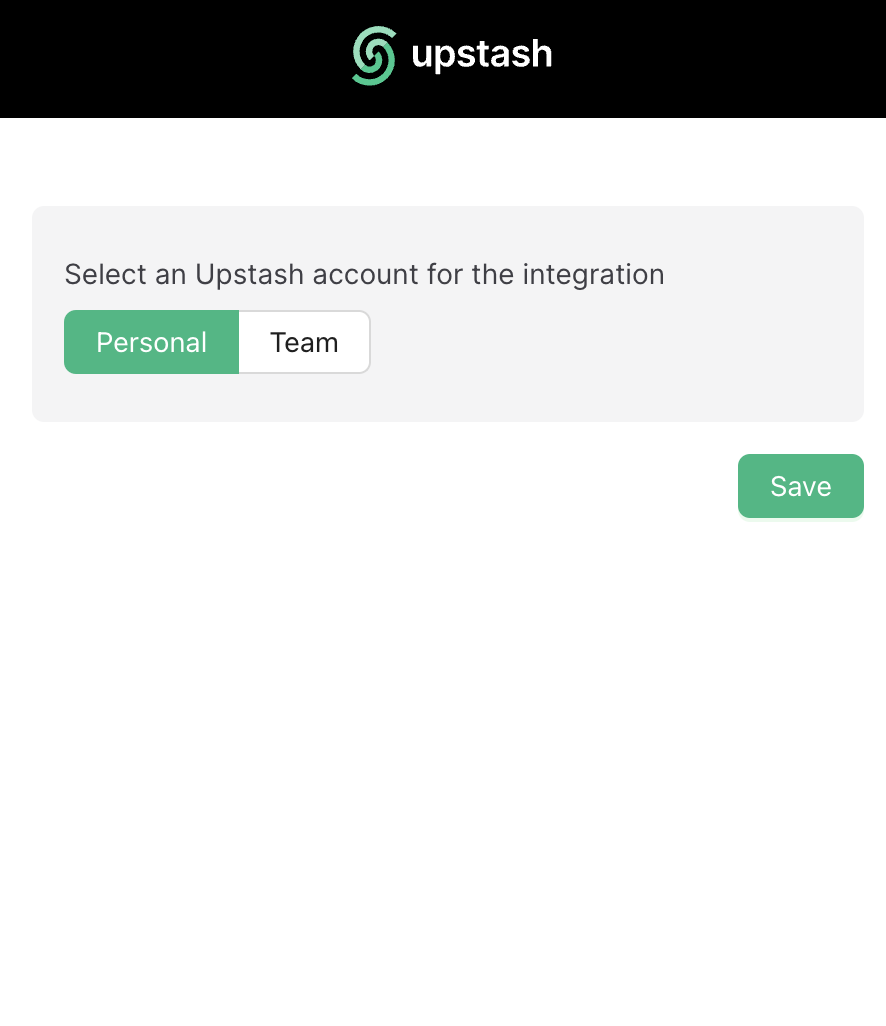
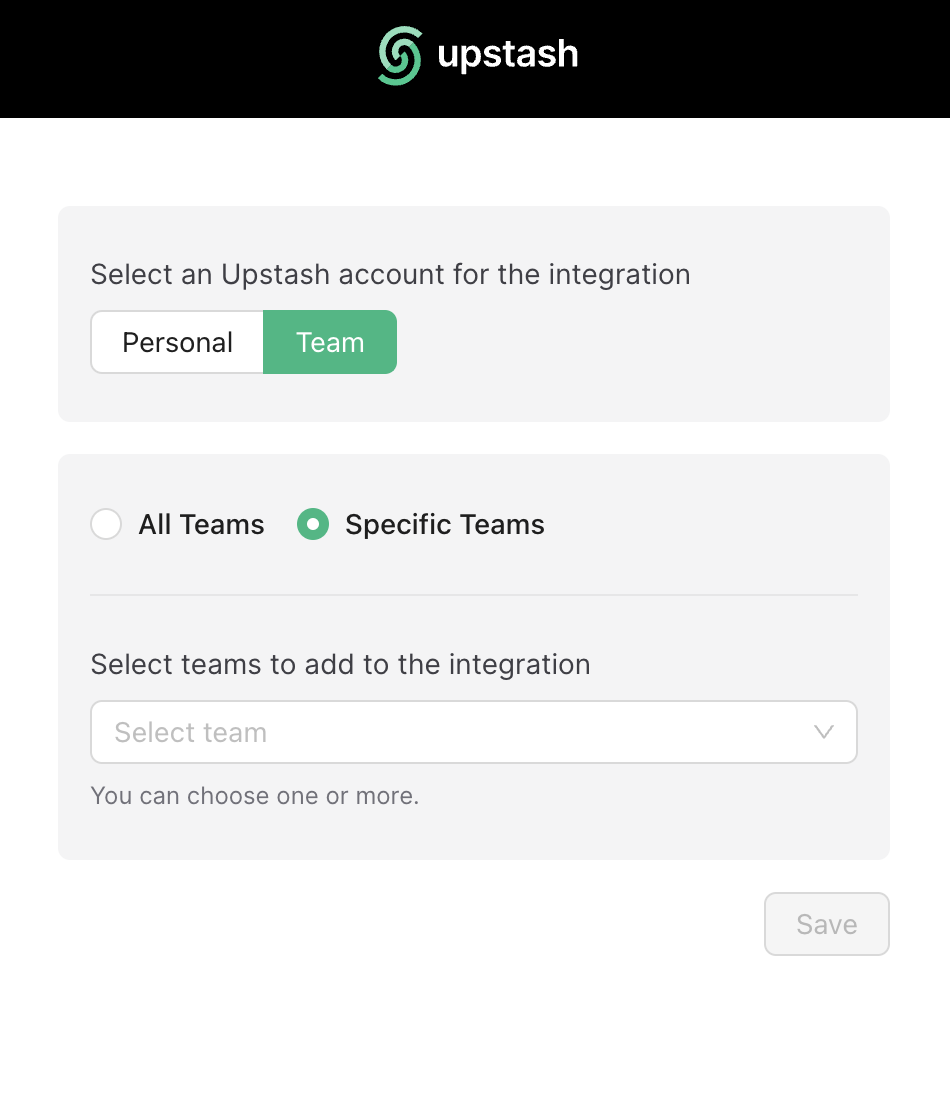
Step 4: Select Account to Integrate
- On Upstash, select the Datadog account to integrate.
- Personal and team accounts are supported.
Caveats
- The integration can be established once at a time. To change the account scope (e.g., add/remove teams), re-establish the integration from scratch.
Step 5: Wait for Metrics Availability
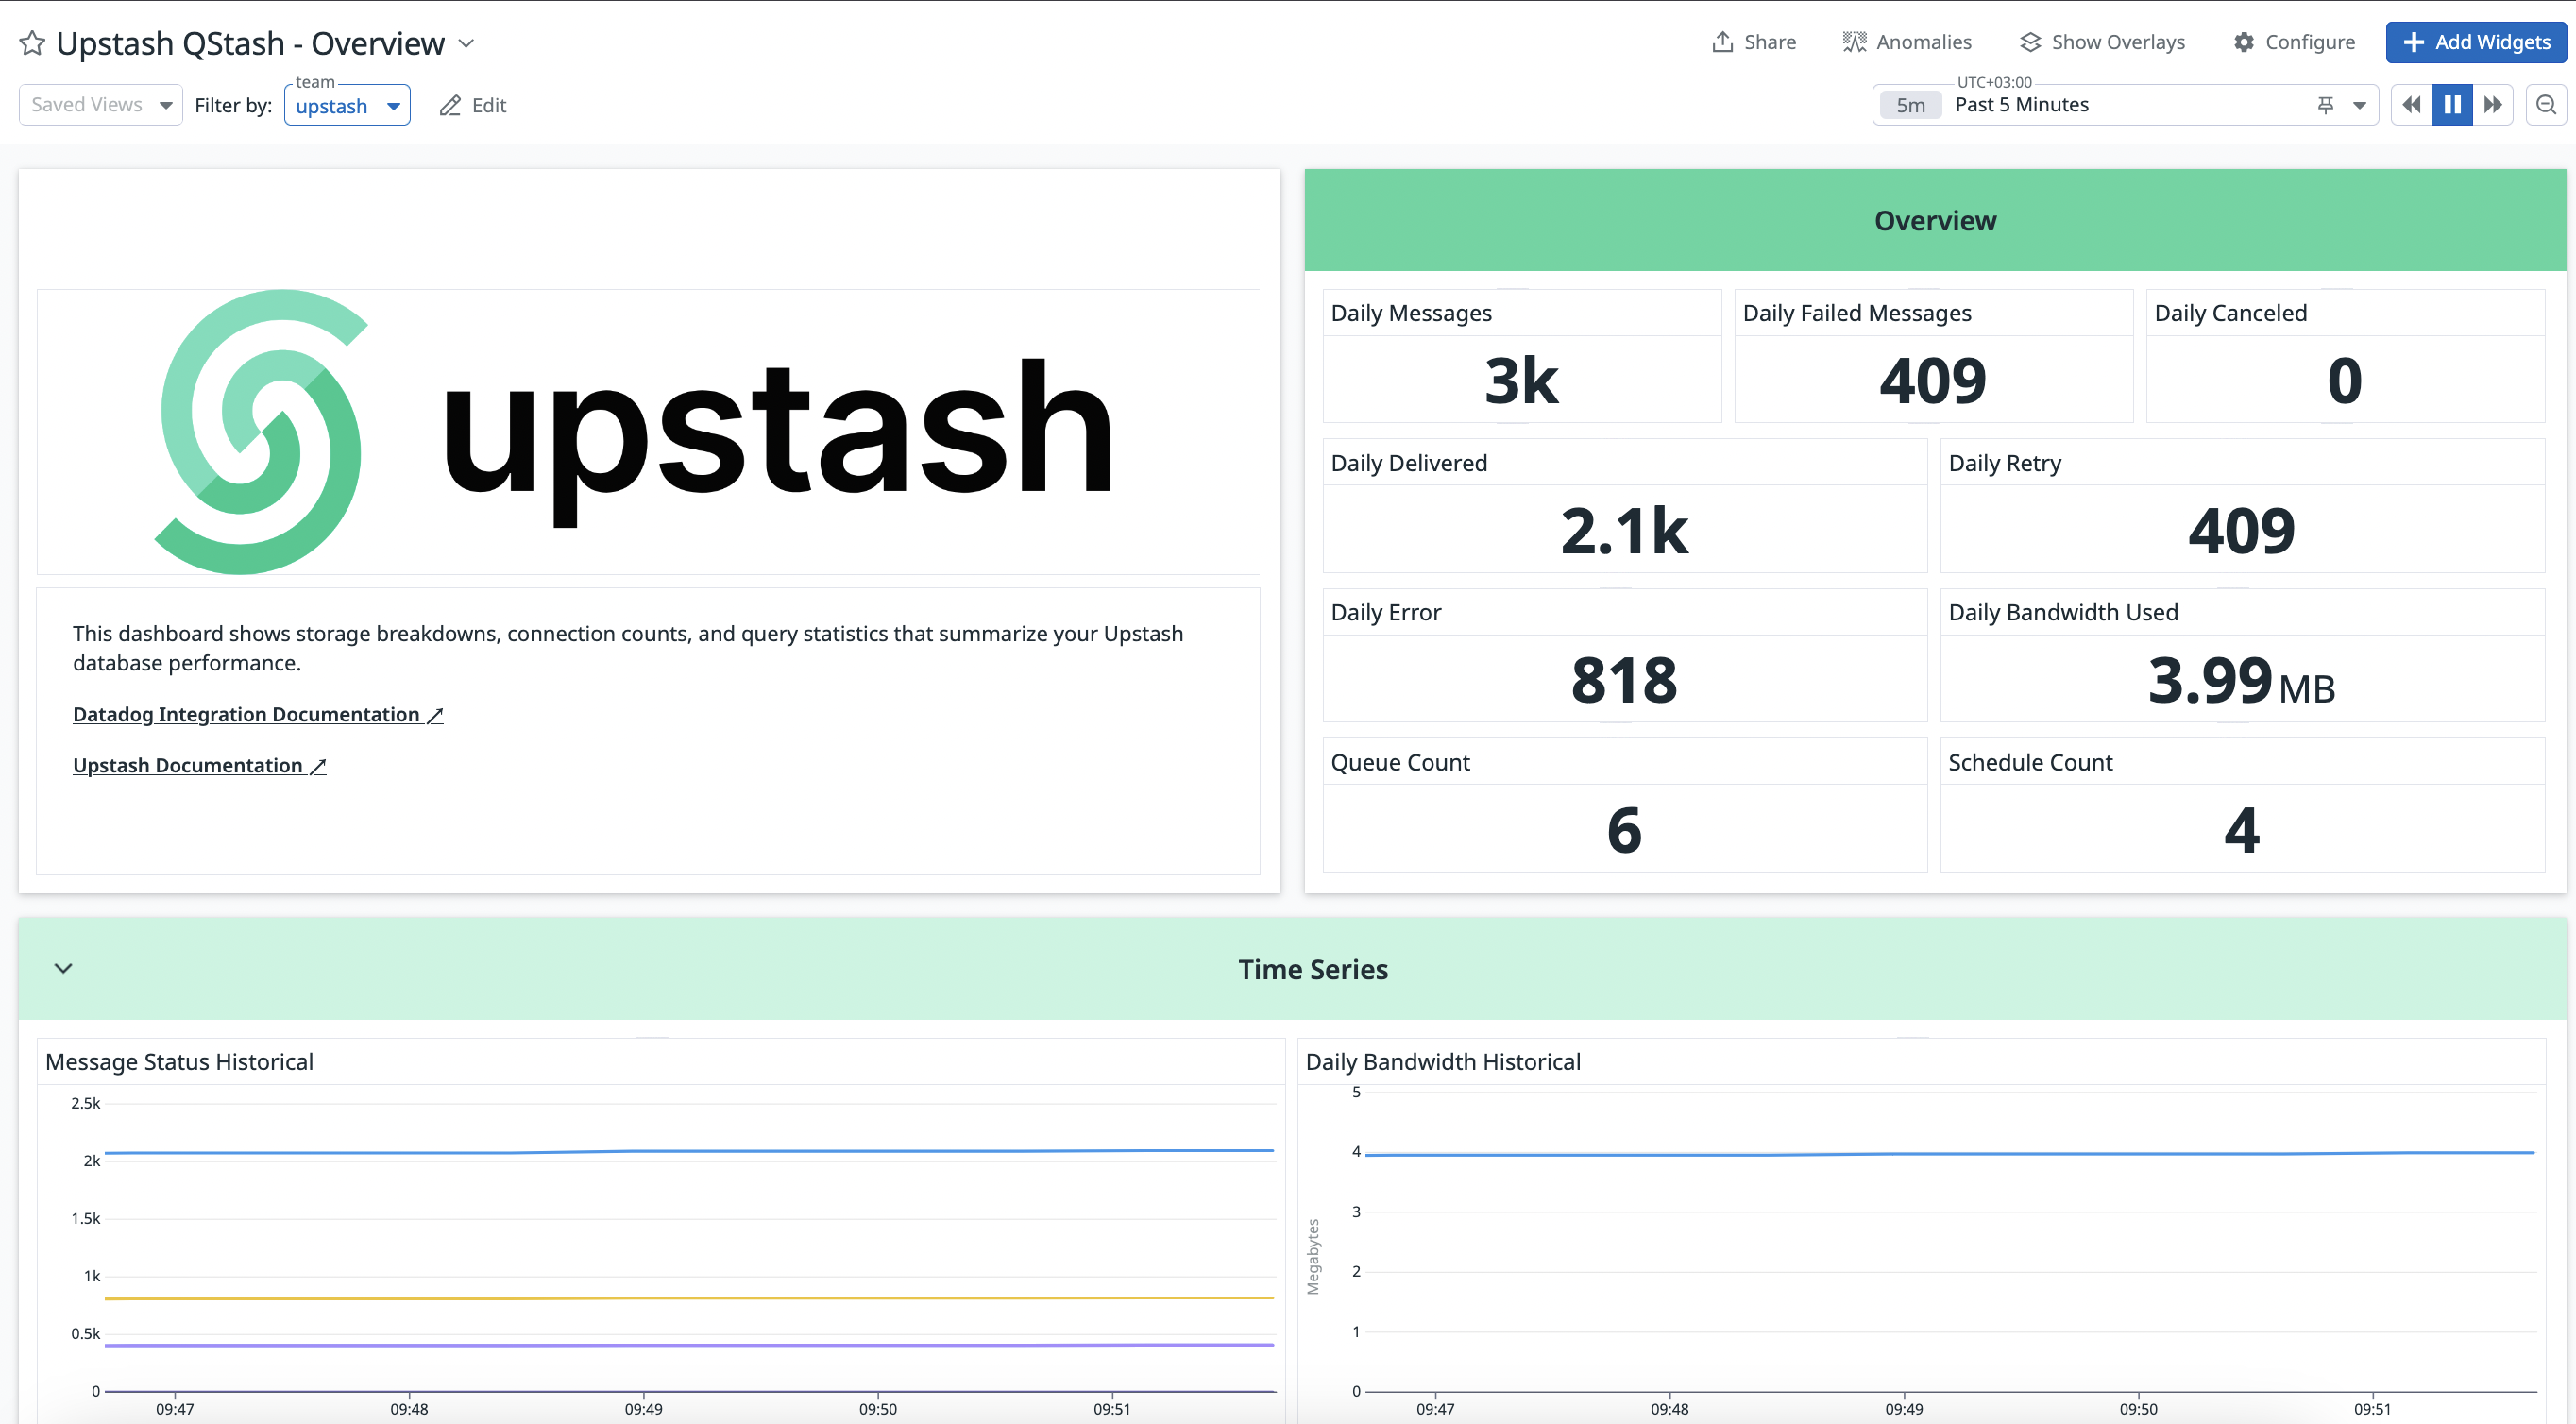
Once the integration is completed, metrics from QStash (publish counts, success/error rates, retries, DLQ, schedule executions) will start appearing in Datadog dashboards shortly.
Step 6: Datadog Integration Removal Process
From Datadog → Integrations → Upstash, press "Remove" to break the connection.
Confirm Removal
Upstash will stop publishing metrics after removal. Ensure any Datadog API keys/configurations for this integration are also removed on the Datadog side.
Conclusion
You’ve connected Datadog with Upstash QStash. Explore Datadog dashboards to monitor message delivery performance and reliability.
If you need help, contact support.