

Development Server
Upstash Workflow is built on top of Upstash QStash. The QStash CLI provides a local development server that performs QStash functionality locally for development and testing purposes.
Automatic dev server (recommended)
If you are using @upstash/workflow, you can just set QSTASH_DEV=true in your environment, and the SDK will download and connect to the dev server automatically. No tokens or signing keys required.
QSTASH_DEV=trueWith QSTASH_DEV=true set, both the workflow client and the serve() endpoint pick up the dev server automatically. The endpoint also verifies incoming signatures against the dev server's deterministic signing keys, so signature verification works end-to-end with no extra setup.
// app/api/workflow/route.tsimport { serve } from "@upstash/workflow/nextjs";export const { POST } = serve(async (context) => { await context.run("step-1", () => console.log("running locally"));});import { Client } from "@upstash/workflow";const client = new Client({ token: process.env.QSTASH_TOKEN ?? "" });await client.trigger({ url: "http://localhost:3000/api/workflow",});For details on the dev server behavior, ports, and the registerQStashDev() helper for Next.js edge routes, see the QStash Local Development docs.
Manual setup
If you would rather start and manage the QStash dev server yourself, follow the steps below.
Install and Start Development Server
Start the development server using the QStash CLI:
npx @upstash/qstash-cli devThe QStash CLI output will look something like this:
Upstash QStash development server is runnning atA default user has been created for you to authorize your requests.QSTASH_TOKEN=eyJVc2VySUQiOiJkZWZhdWx0VXNlciIsIlBhc3N3b3JkIjoiZGVmYXVsdFBhc3N3b3JkIn0=QSTASH_CURRENT_SIGNING_KEY=sig_7RvLjqfZBvP5KEUimQCE1pvpLuouQSTASH_NEXT_SIGNING_KEY=sig_7W3ZNbfKWk5NWwEs3U4ixuQ7fxwESample cURL request:curl -X POST http://127.0.0.1:8080/v2/publish/https://example.com -H "Authorization: Bearer eyJVc2VySUQiOiJkZWZhdWx0VXNlciIsIlBhc3N3b3JkIjoiZGVmYXVsdFBhc3N3b3JkIn0="Check out documentation for more details:https://upstash.com/docs/qstash/howto/local-developmentFor detailed instructions on setting up the development server, see our QStash Local Development Guide.
Enable Local Mode on Console
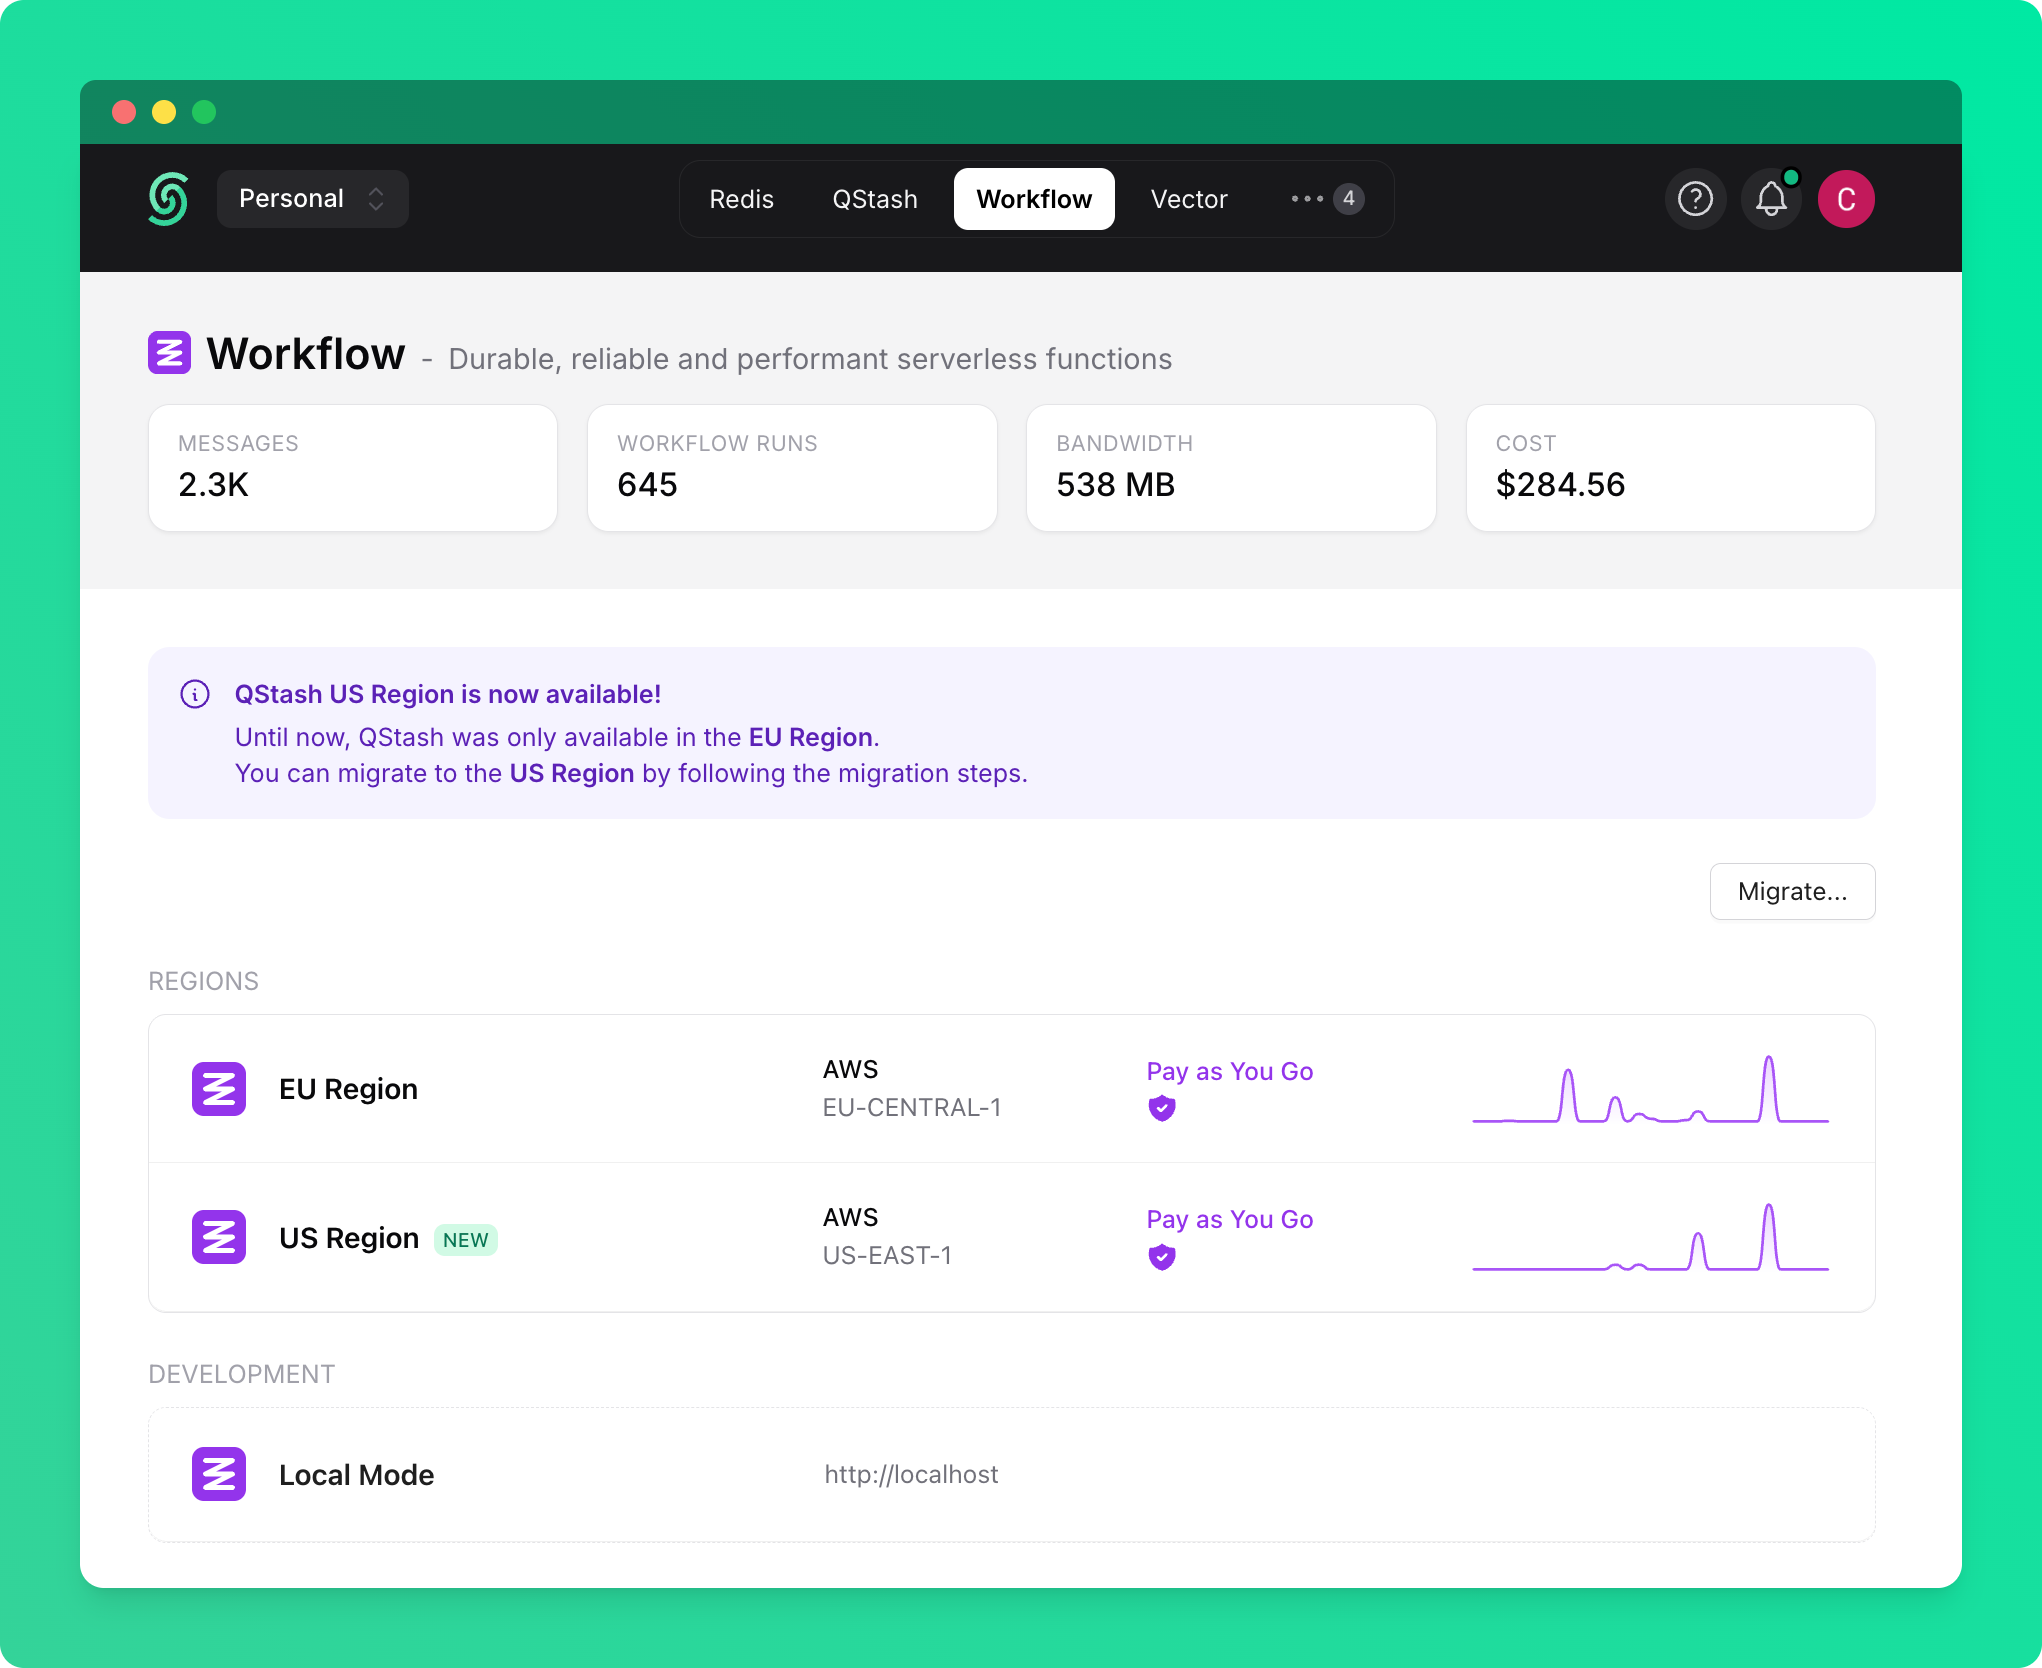
Once you start the local server, you can go to the Workflow tab on Upstash Console and enable local mode, which will allow you to monitor and debug workflow runs with the local server.
Update Environment Variables
Once your development server is running, update your environment variables to route QStash requests to your local server.
QSTASH_URL="http://127.0.0.1:8080"QSTASH_TOKEN="eyJVc2VySUQiOiJkZWZhdWx0VXNlciIsIlBhc3N3b3JkIjoiZGVmYXVsdFBhc3N3b3JkIn0="QSTASH_CURRENT_SIGNING_KEY="sig_7RvLjqfZBvP5KEUimQCE1pvpLuou"QSTASH_NEXT_SIGNING_KEY="sig_7W3ZNbfKWk5NWwEs3U4ixuQ7fxwE"Use local addresses
It's all set up 🎉
Now, you can use your local address when triggering the workflow runs.
import { Client } from "@upstash/workflow";const client = Client()const { workflowRunId } = await client.trigger({ url: `http://localhost:3000/api/workflow`, retries: 3});Inside the trigger() call, you need to provide the URL of your workflow endpoint:
- Local development → use the URL where your app is running, for example: http://localhost:3000/api/PATH
- Production → use the URL of your deployed app, for example: https://yourapp.com/api/PATH
To avoid hardcoding URLs, you can define a BASE_URL constant and set it based on the environment.
A common pattern is to check an environment variable that only exists in production:
const BASE_URL = process.env.VERCEL_URL ? `https://${process.env.VERCEL_URL}` : `http://localhost:3000`const { workflowRunId } = await client.trigger({ url: `${BASE_URL}/api/workflow`, retries: 3});